

Estimated reading time: 5 minutes
Introduction to OMV
OMV (OpenMediaVault) is an open-source Network Attached Storage (NAS) solution based on Debian Linux. It is designed to offer users an easy-to-install and configure system to create a networked storage device management platform. OMV provides a web-based user interface, through which users can easily manage storage spaces, user accounts, shared folders, and more. It also supports a rich set of plugins to extend more functionalities, such as setting up Transmission for seeding, installing Plex or Jellyfin to manage media libraries, and so on.
Next, we will start with the installation of OMV and introduce how to deploy a Jellyfin to build a family-shared multimedia platform on OMV.
Creating a Bootable USB Drive with Rufus
Before starting the installation, make sure you have a host machine, which could be an idle old computer or a Raspberry Pi. We will transform it into a home NAS and enrich its multimedia functions.
Downloading Rufus
First, go to the Rufus official website to download the required version for creating the bootable image disk (alternatively, other tools like Ventoy can be used).
Additionally, here is an introduction to Ventoy for those interested. Compared to others, Ventoy offers more features and can be used to create installation drives for multiple operating systems.
Downloading OpenMediaVault Image
Go to the OpenMediaVault official website to download the required version for creating a bootable drive. Here, version 6.5 (old stable) is selected, but you can also try the latest stable version 7.0.
Creating the Bootable Drive
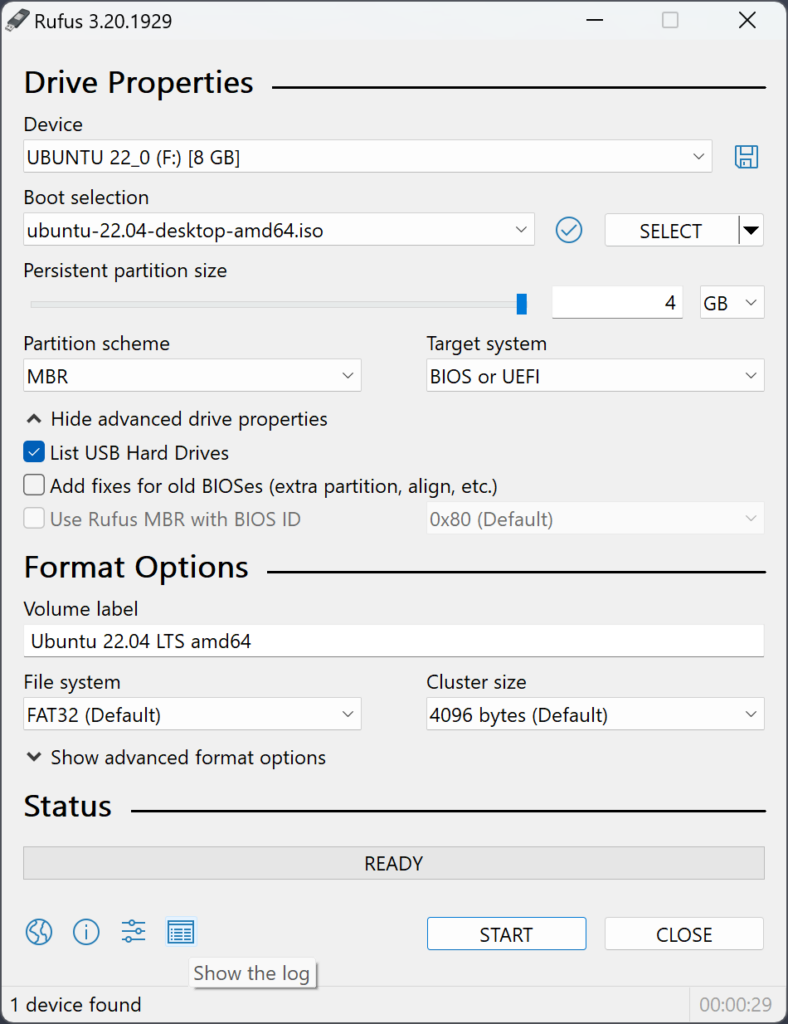
Insert the USB drive, open Rufus, select the downloaded image file, and make sure to select the correct USB device before starting to avoid formatting other hard drives.
Wait for the progress bar to complete, and you will have an OMV 6.5 bootable drive.
Installing OMV 6.5
For convenience in this tutorial, we will use a VMware virtual machine for installation. If you lack experience and are not confident about succeeding on the first try, you can test it on a virtual machine first to familiarize yourself with the process before operating on a physical machine.
Installing on a Virtual Machine
Download and install VMware Workstation Player 17, the free personal edition of VMware workstation, which is completely sufficient for individual testing.
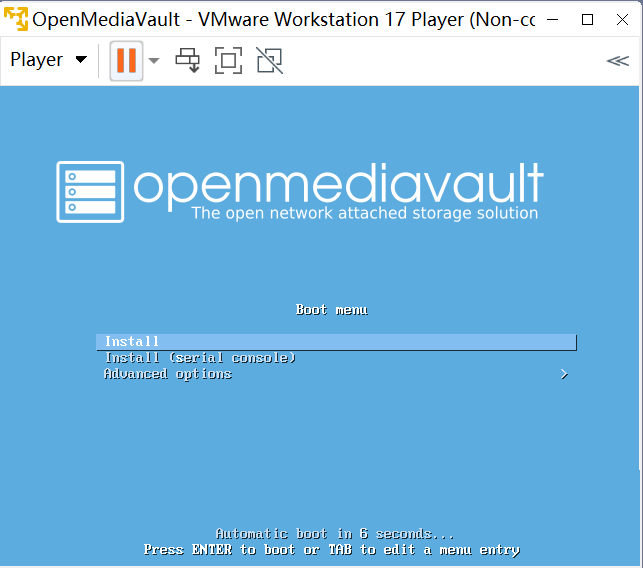
Create a virtual machine, select the downloaded image to mount, and then start the virtual machine, choosing the first option to install.
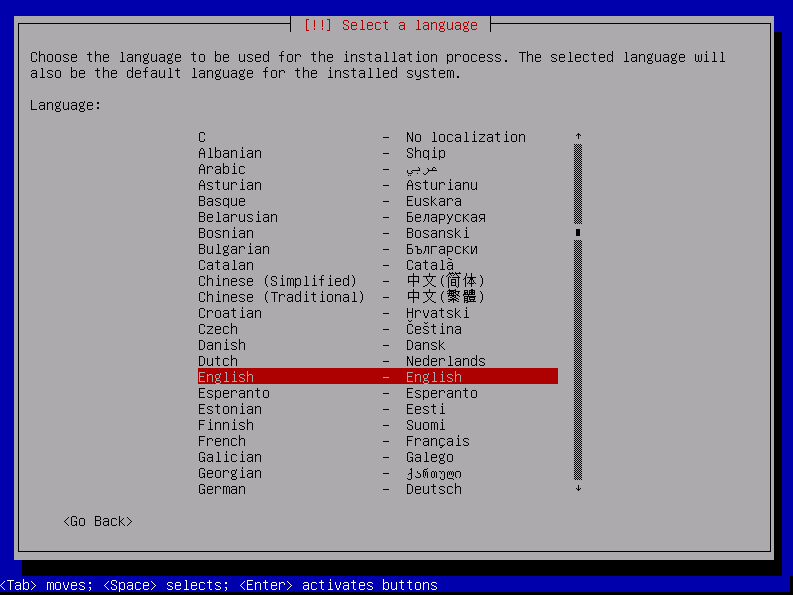
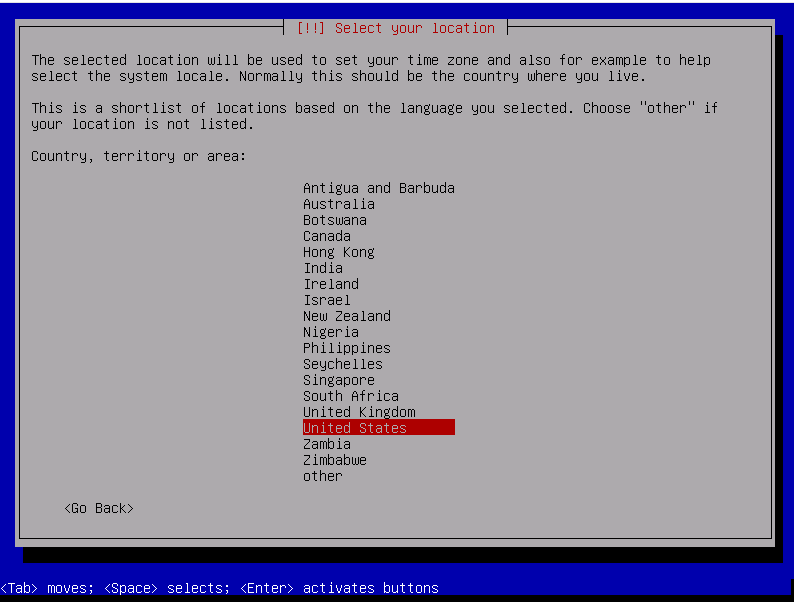
After entering, select the language, region, and keyboard. This will automatically set the time zone based on your location.
After choosing, if connected to the internet, network settings will start automatically; if not, you can set them manually.
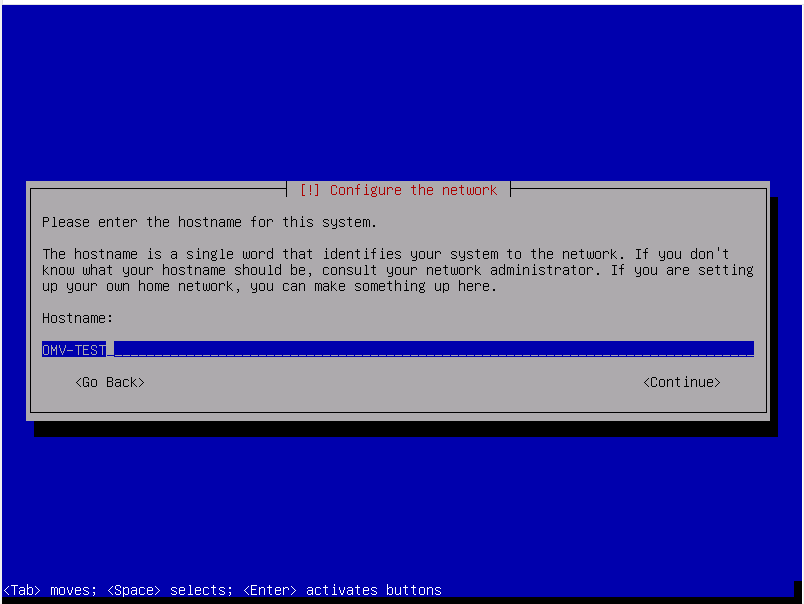
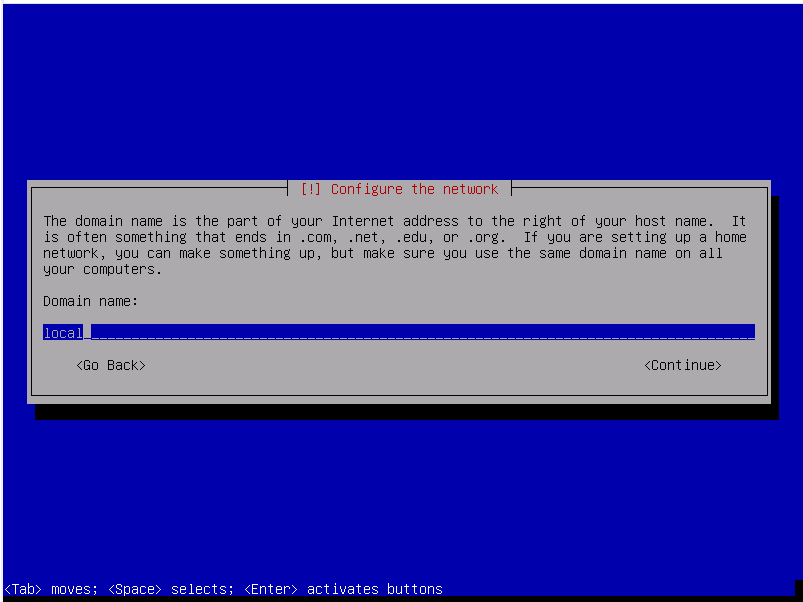
After configuring the network, set the hostname and domain name, which can be changed as needed. If it's for use within a home LAN, any settings will do.
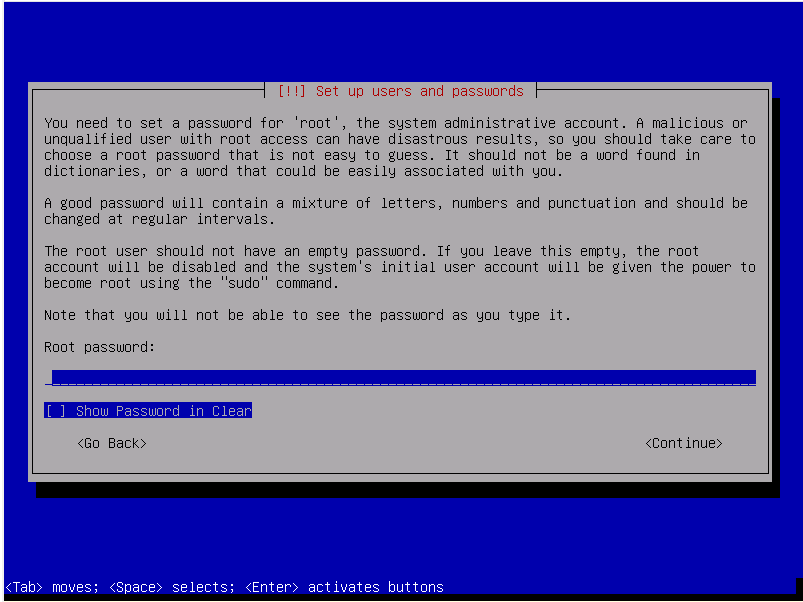
After network settings, you will be prompted to set a root password. Enter it and confirm to complete the setup. This password is important; ensure its complexity and keep it safe, as it will be used for subsequent configuration and maintenance.
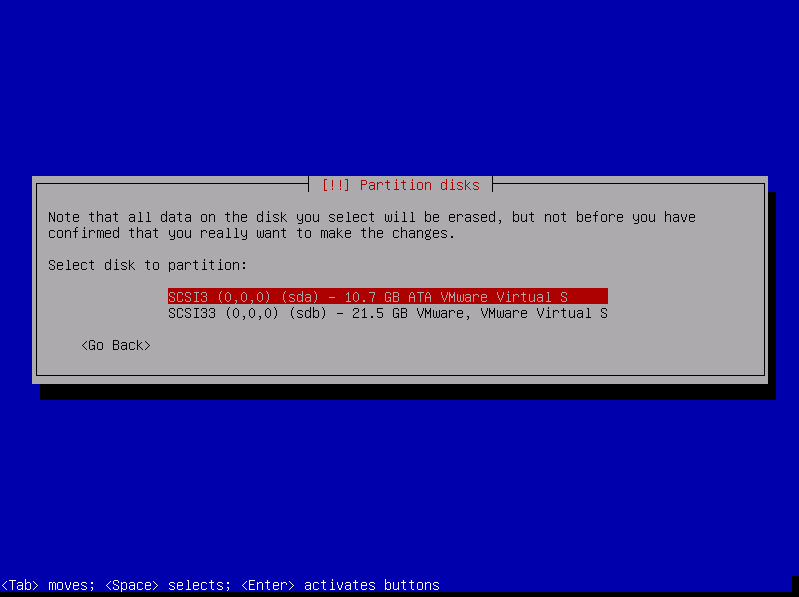
After setting, it will automatically set the time and start installing the system. Before installation, you need to select a disk for installation; usually, one disk is designated as the system disk, and others as data disks. Here, choose the first disk.
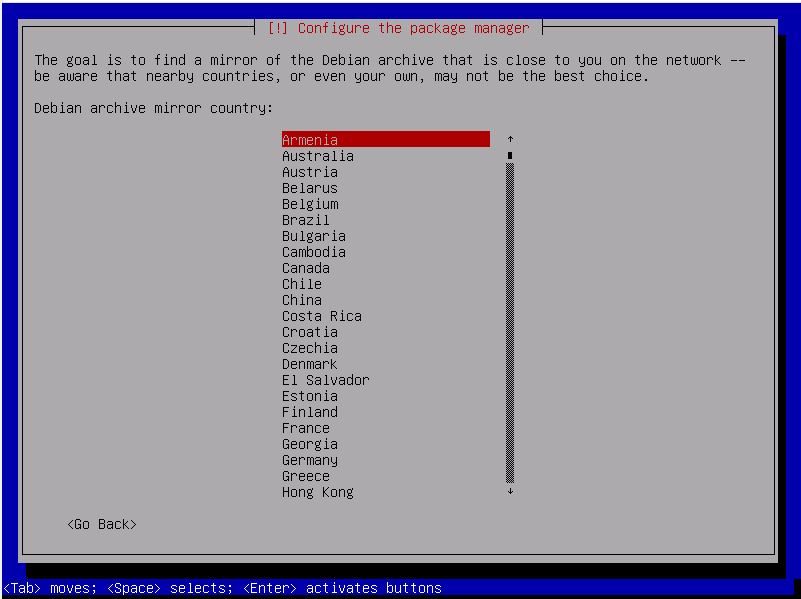
After installation, some initial configurations will be performed, starting with the selection of a software package mirror. Choose your country or region, and it will automatically configure the nearest source. Then, it will list the repository mirrors, and you can choose a suitable one.
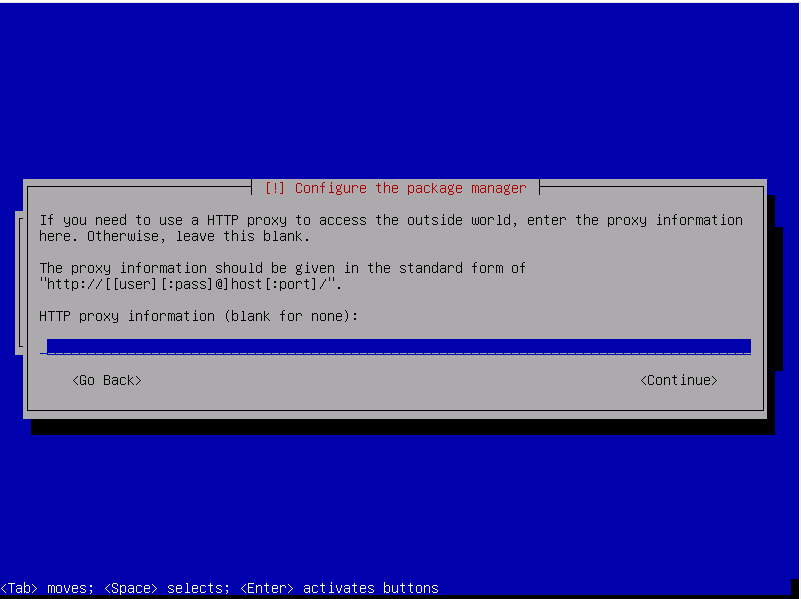
Next, you will be asked if a proxy is needed; if not, simply leave it blank and press enter. If there is a proxy, fill it in the format http://user:passwd@host:port. It will then start downloading software packages, wait for the download to complete to proceed.
When you see the installation complete prompt, you can remove the USB drive, select continue, and the system will reboot.
After installing OMV, due to the presence of multiple hard drives, you may need to set the boot order. Make sure not to boot from other blank disks to avoid failing to enter the system.
References:
omv6 new user guide
Hello. Any chance to get part 2? I couldn’t find it.
Thanks for your reading, here is part 2 and part 3.
Part 2: https://blog.devops955.com/swain/2024/03/25/build-an-omv-server-part-two/
Part 3: https://blog.devops955.com/swain/2024/03/25/deploy-jellyfin-in-omv-6/