

OMV Feature Expansion
Beyond providing network storage, OMV officially offers many plugins to extend its functionalities, such as installing and running Plex or enabling Docker to set up a home multimedia platform with Jellyfin. To use these features, the OMV-extra plugin must be installed to enable Docker and then install the respective services. Beginners need not delve into the details of what Docker is; it can be considered as a functional plugin or a configured virtual machine running on OMV. We will attempt to enable Docker and install Jellyfin to set up a home media platform, similar to Plex (although some Plex features require a paid subscription, hence the choice of Jellyfin).
Installing OMV-extra
OMV-extra is a plugin for OMV. Before running Jellyfin on Docker, enable the extra plugin to use advanced features. Install by logging in via SSH or locally to the OMV backend and executing the following command:
wget -O - https://github.com/OpenMediaVault-Plugin-Developers/packages/raw/master/install | bash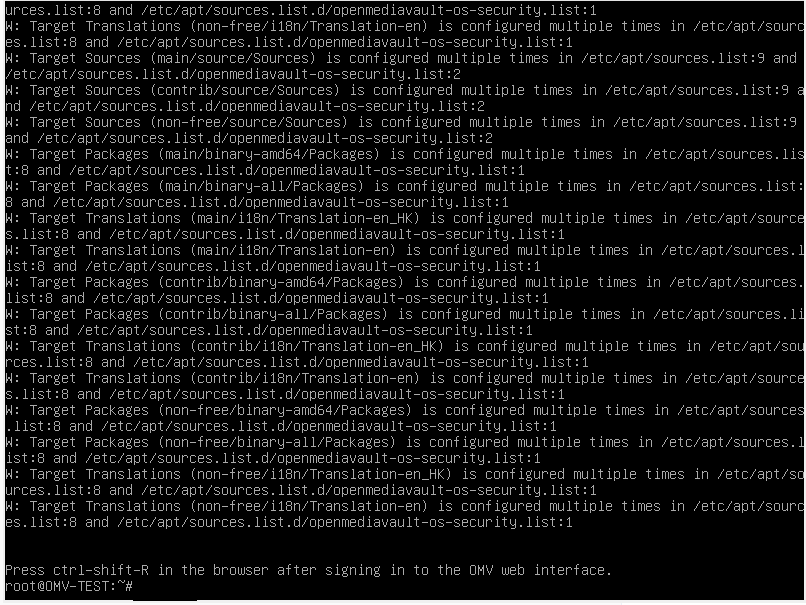
This will download necessary components and execute the installation. After completion, log into the GUI and use Ctrl+Shift+R to refresh the page.
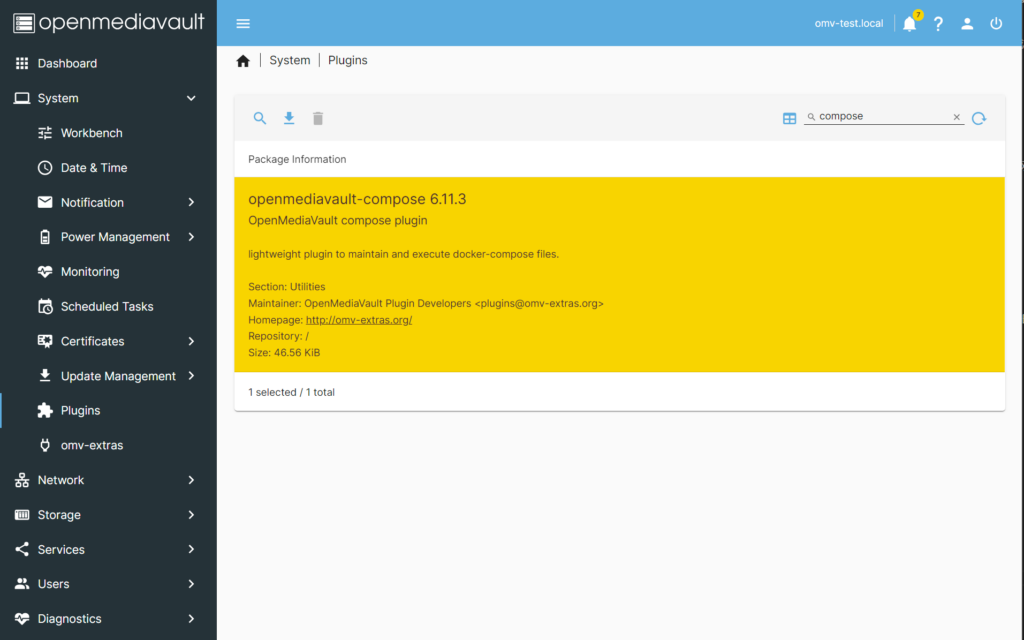
After reloading, you'll find an omv-extras option under the system menu. Next, install the Docker Compose plugin by searching for 'compose' in Plugins, selecting it, and installing. During this process, the sharerootfs plugin, which is essential for operation, will also be installed and should not be uninstalled.
Enabling Docker
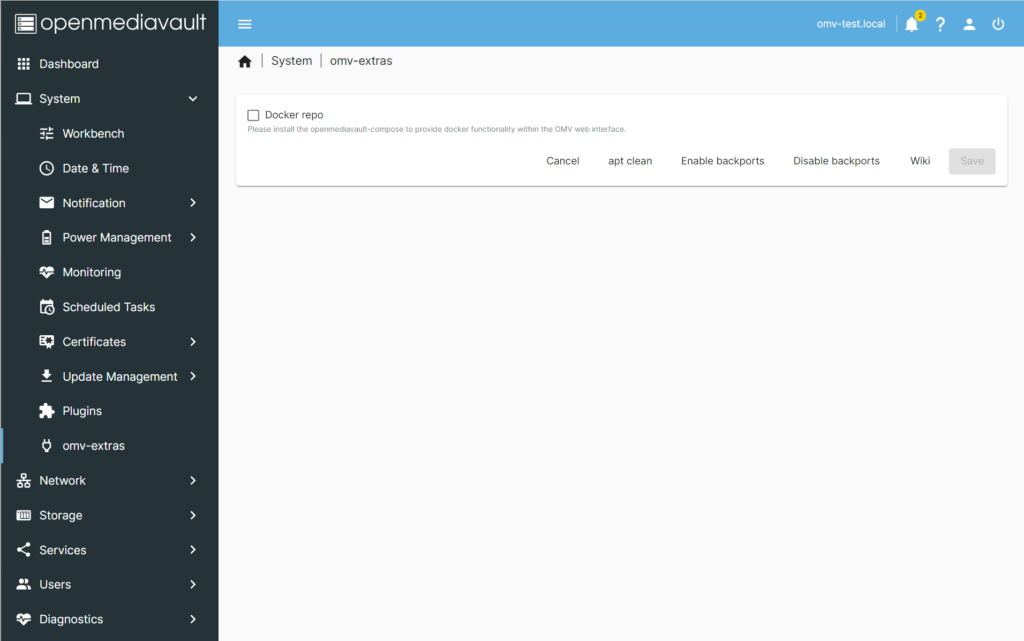
After installation, check the docker repo in omv-extra to enable Docker, then click Apply to implement changes.
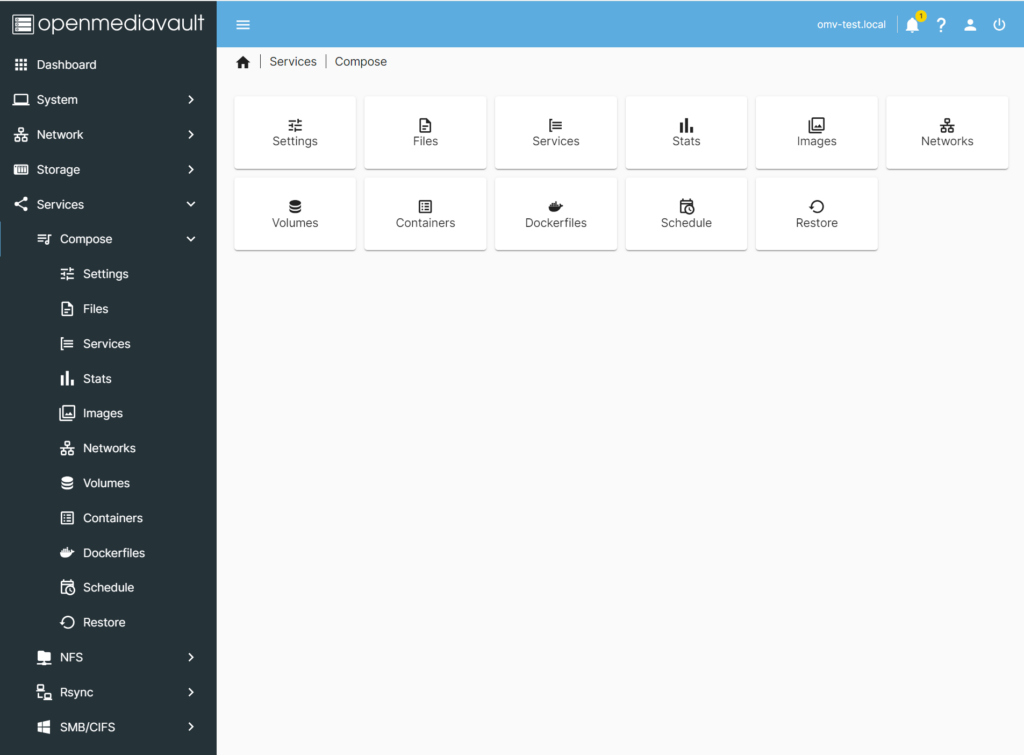
In services, a new compose service appears, showing that Docker Compose is enabled.
Configuring Docker
First, create directories for Docker in share folder, named docker, appdata, and data, plus docker_backup if needed. Note down the absolute path of docker for later configurations.
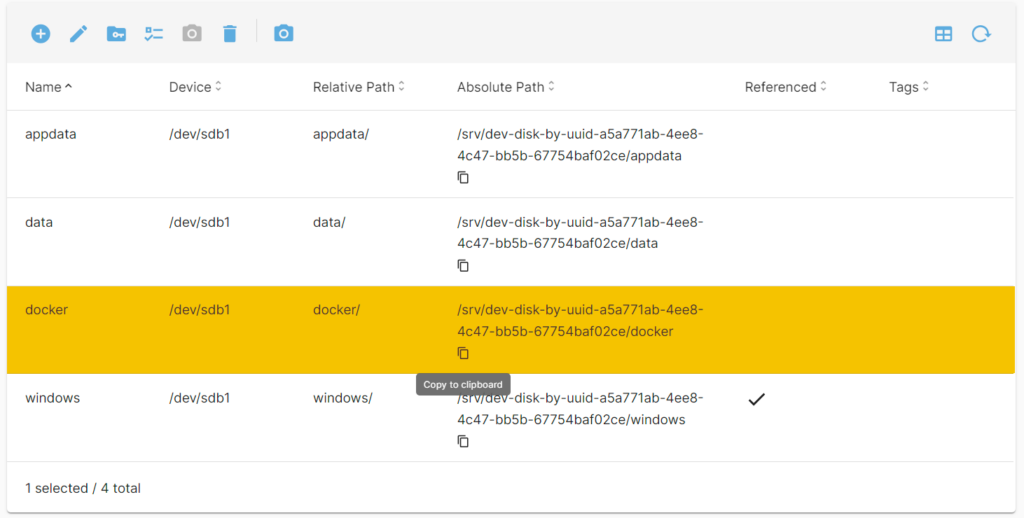
Configure Docker under Services - Compose - Settings, link the relevant directories, choose appdata for Compose Files, select data for Data, and fill in the docker path you created. Apply the settings afterwards.

Next, create a Docker user under Users - Users, name it appuser or as you prefer, and add it to the users group. Record the user's UID and GID, typically starting from 1000; if appuser is the second user, it would be 1001, with the user group GID at 100. Confirm this by logging into the server backend and entering cat /etc/passwd to see UID:GID.

Now you're ready to configure Docker. Return to Services - Compose - Files, select Edit global environment file to set global variables.
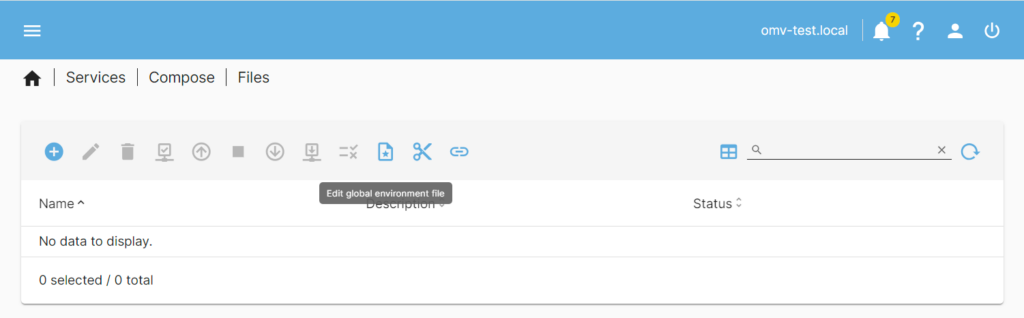
Input the following (TZ is TimeZone, check in System - Date & Time under Time zone):
PUID=1001
PGID=100
TZ=Asia/Hong_Kong
With the basics set, you're now ready to install and configure Jellyfin.
Installing Jellyfin
First, choose a Docker image from Docker Hub, like jellyfin/jellyfin or linuxserver/jellyfin, recommending the latest stable version. Back in OMV, go to Services - Compose - Files and click Add to set up, or use Add from Example for a quick Jellyfin setup. Example configuration as follows:
---
# https://jellyfin.org/downloads/docker
services:
  jellyfin:
    image: jellyfin/jellyfin:latest
    container_name: jellyfin
    environment:
      - PUID=1001
      - PGID=100
      - TZ=Asia/Hong_kong
    volumes:
      - ./config:/config
      - ${DATA}/jellyfin/tvseries:/data/tvshows
      - /srv/dev-disk-by-uuid-a5a771ab-4ee8-4c47-bb5b-67754baf02ce/data/jellyfin/movies:/data/movies
    ports:
      - 8096:8096
    restart: unless-stopped
Here, ./config points to the local path, and ${DATA}/jellyfin/tvseries uses the variable DATA corresponding to the earlier set /data directory. You can also use the complete absolute path.
Ports are for Docker to expose services through your OMV server, defaults are used here for simplicity.
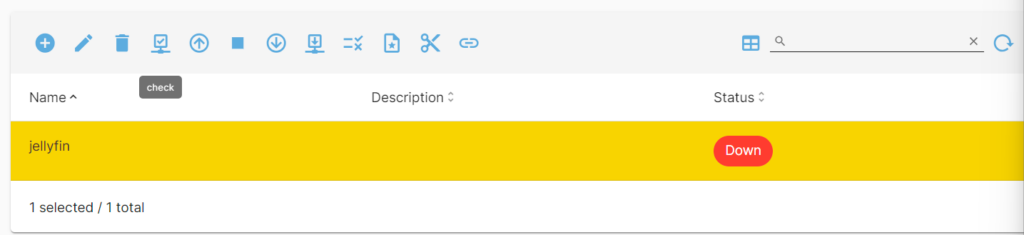
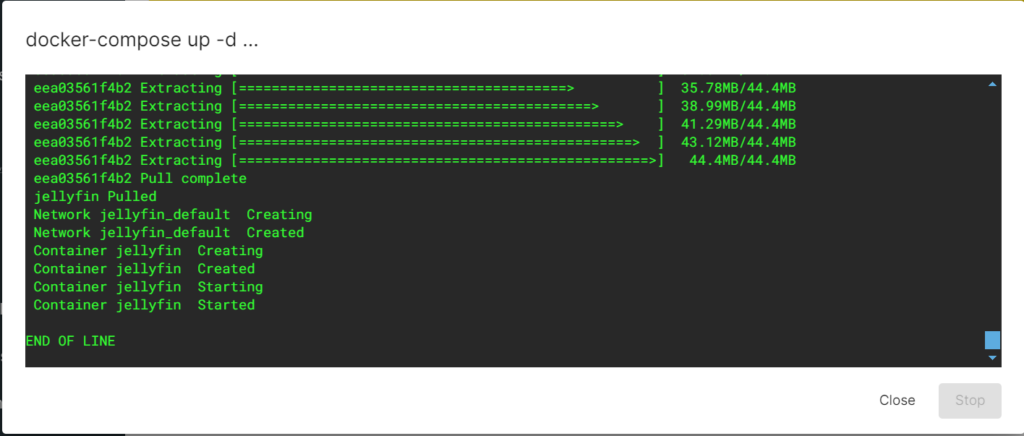
After configuring, select the newly created file, check the configuration, and if all is correct, choose up to start the Docker service.
Once the image is pulled and successfully started, access http://serverip:8096 in a browser to initialize settings.
Further Jellyfin settings are not detailed here; refer to the official documentation for guidance.
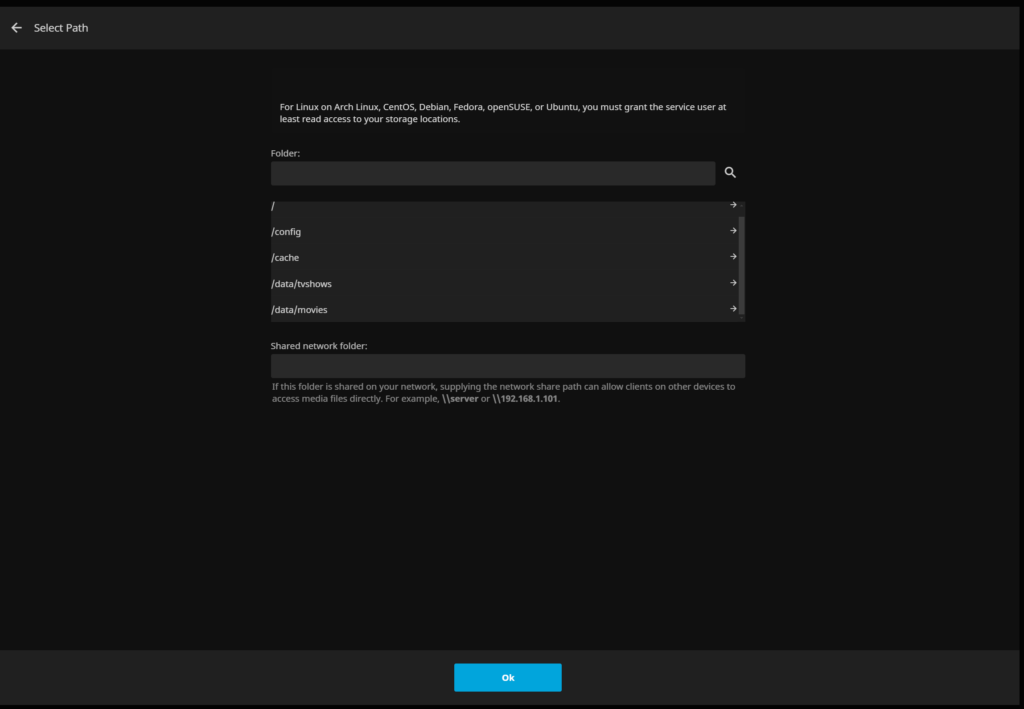
When adding media libraries, since Docker defaults to temporary storage, ensure data is stored outside the container in persistent storage mapped earlier (e.g., /data/tvshows and /data/movies). If there are more categories (music, photos, etc.), add configurations as needed. Accordingly, or you can place all categories in the same directory for simplicity.
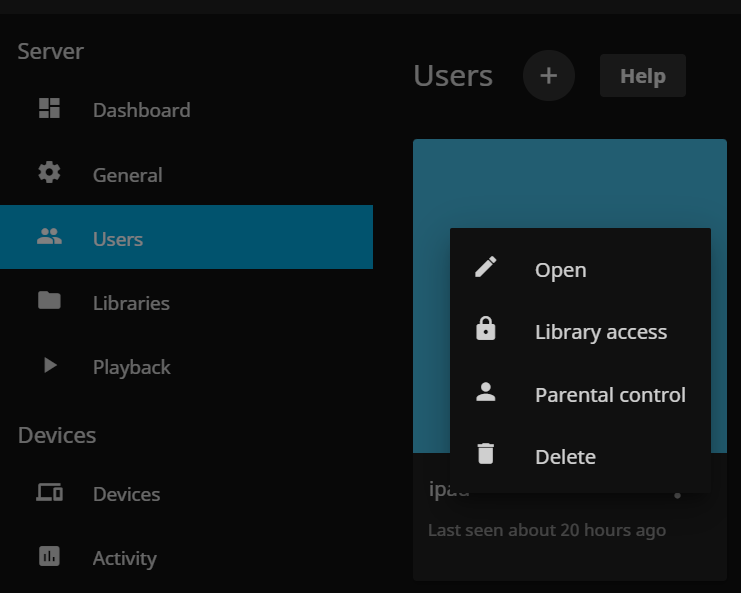
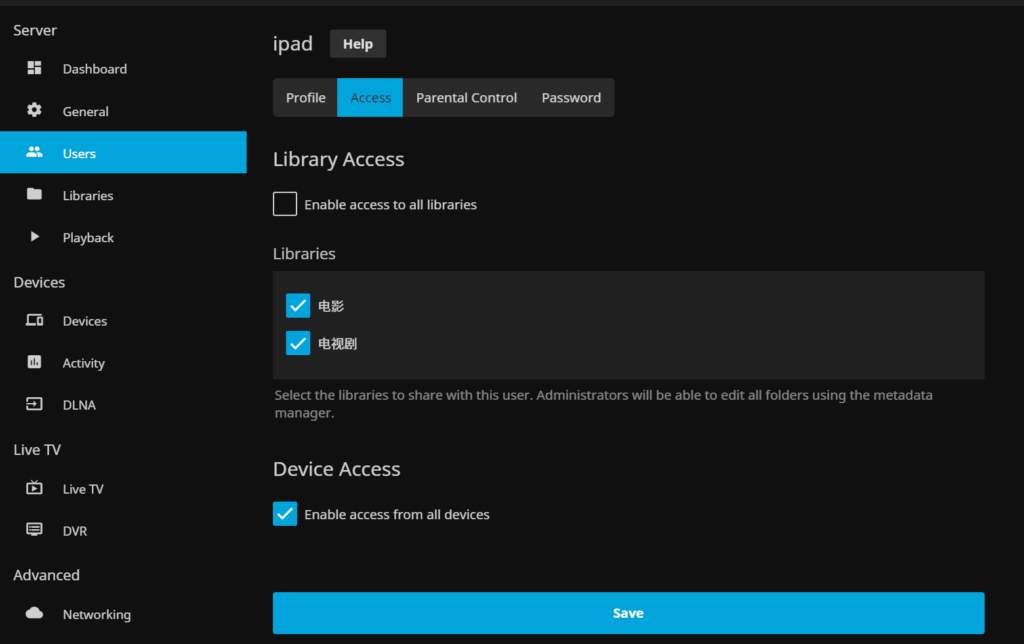
Additionally, Jellyfin functions as a standalone service, thus it requires setting up individual users. When creating users, it is not necessary to set up passwords for them if they are not to be administrators, to facilitate ease of use. However, ensure that users are granted access to different media libraries to prevent them from being unable to see any content upon entry.
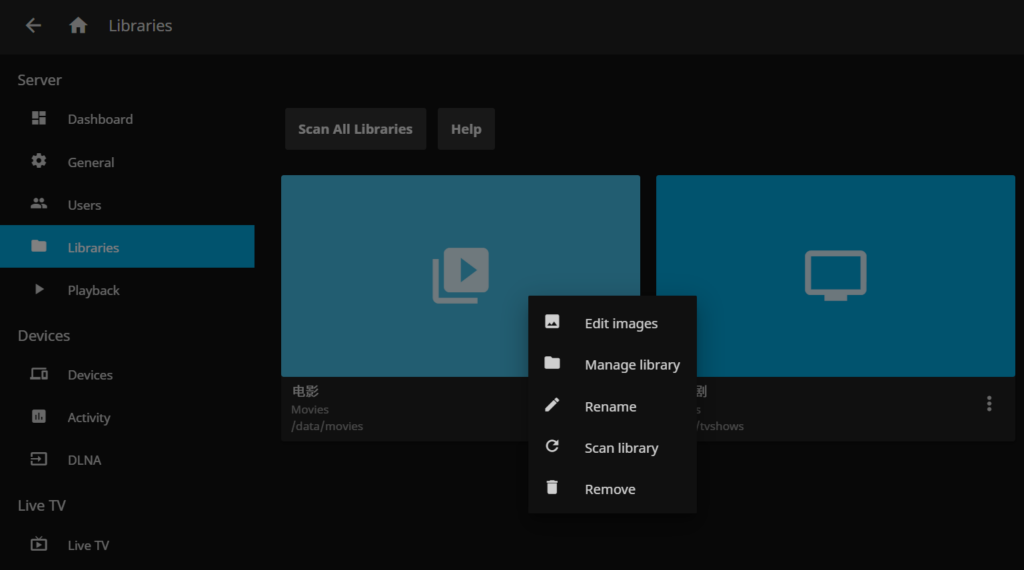
Lastly, just upload the media files to the server (in the corresponding OMV directories), and then scan them in the admin console to start enjoying your media collection. Future changes or updates only require scanning individual media libraries instead of rescanning all libraries, saving significant time.
References:
OMV Extras Plugin
OMV6 Docker Compose
Docker in OMV
Plex in OMV6
Hello, after reading this remarkable piece of writing i am too delighted to share my know-how here with colleagues.
I’m glad you enjoyed the piece! I’d be happy to hear your insights and share knowledge with you as well.