
Configuring OMV
In the previous article, we completed the installation of the OMV system. Next, we'll perform some initial configurations and create an SMB for use with Windows PCs.
After entering the OMV system, log in to the server backend using the root username and password created earlier.
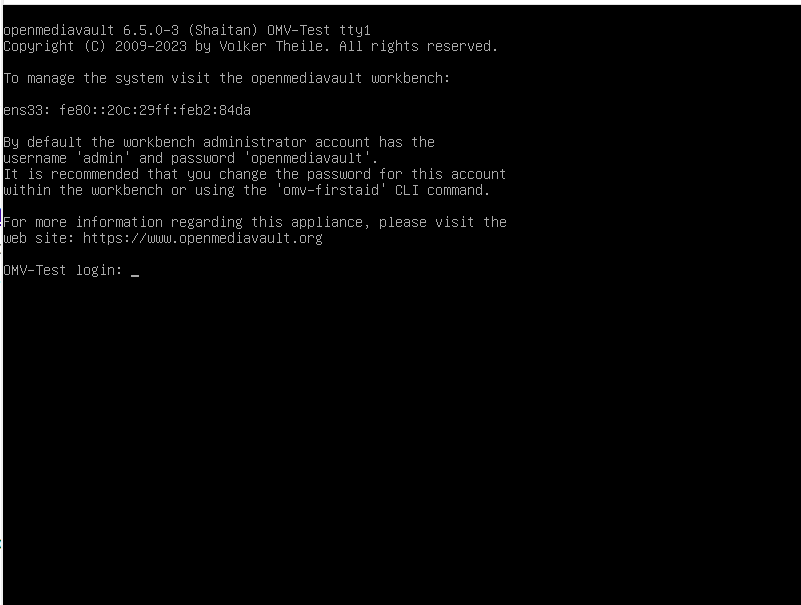
Upon starting, OMV will automatically initiate relevant processes. Being Debian-based, it supports various Linux commands for configuration and maintenance. Initially, you can use the ss -tnlp command to check the currently running processes and listening ports, mainly ensuring that both ssh and nginx are enabled, allowing for maintenance and management via SSH.
Then, after confirming the nginx port, access the OMV Web management interface through a browser by visiting http://server_IP. If DHCP was used during installation, the allocated IPv4 address can be checked with the ip -4 addr command. For easier future maintenance, it is advised to use a static IP or bind the IP in the router.

Upon accessing the web page, log into the OMV management interface with the initial account 'admin' and password 'openmediavault'.

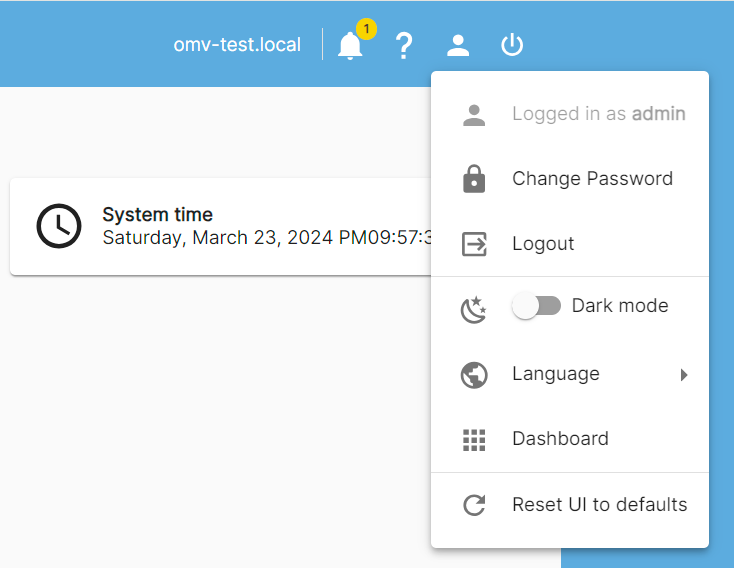
First, change the admin's initial password for security reasons by clicking the person icon in the top right corner, and ensure it's a strong password that differs from the root's.
Feature Introduction
Once logged in, you will see the left-hand menu with most maintenance and setting adjustments available through these categorized menus.
- Dashboard: Displays system performance monitoring charts upon entry.
- System: Allows configuration of system settings like time zone, language, power management, certificates, and plugin management.
- Network: Enables network configurations including interfaces, proxy settings, and firewall.
- Storage: Configures disks and filesystems, such as setting up drives, creating software RAIDs, and shared storage.
- Services: Configures services like SSH, NFS, SMB/CIFS, Rsync, with additional features available after installing plugins.
- Users: Manages users and groups, including creating users, controlling permissions, etc.
- Diagnostics: Allows system status reviews, including viewing system logs, service processes, and performance stats, enabling troubleshooting directly from the Web GUI.
System Settings
For date and time settings, NTP servers can automatically sync the time, defaulting to pool.ntp.org. If there are issues with this NTP or a better local server is available, switch to another NTP server in the Date & Time settings.
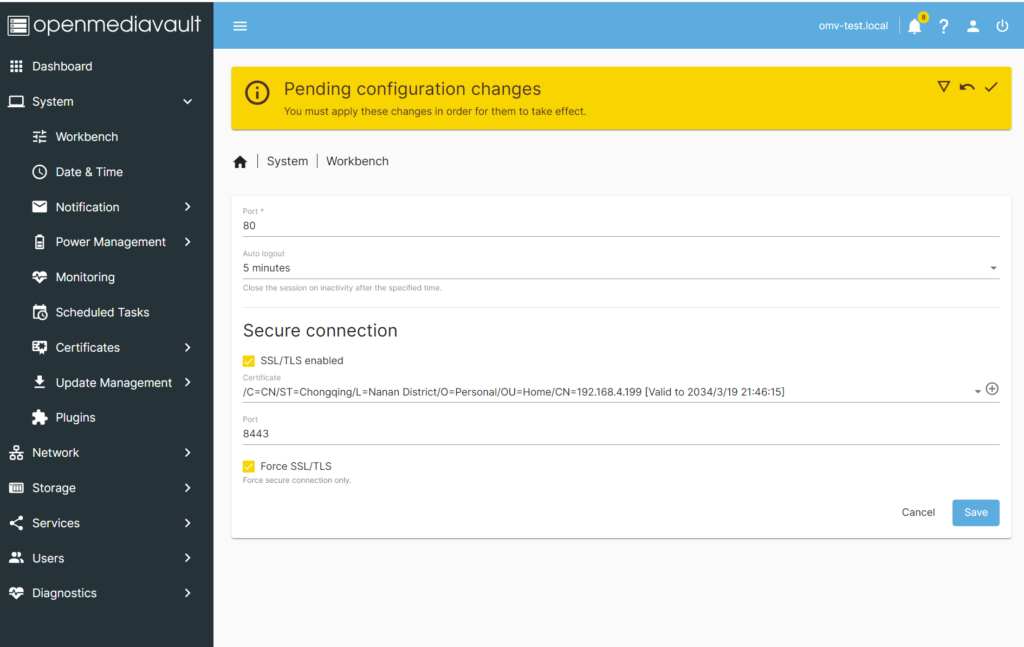
For enhanced security, create SSH key pairs for secure server access and use SSL to encrypt HTTP access, though this can be optional in a home LAN. This section briefly touches on SSL configuration.
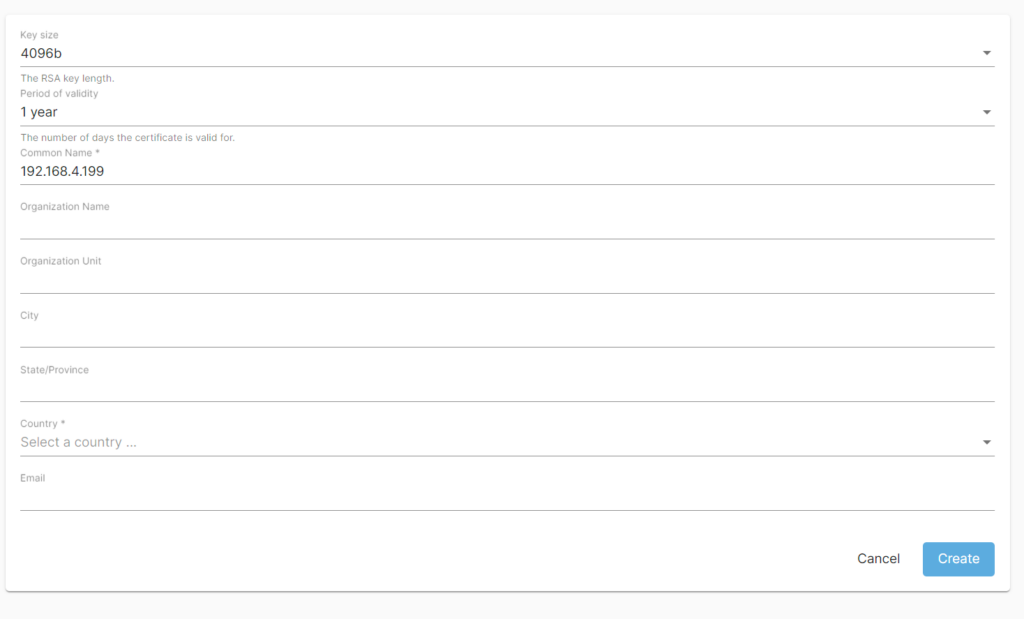
In System - Certificates - SSL, import a trusted certificate or create a self-signed one. Self-signed certificates usually trigger risk warnings during interaction. Since this is for home use, directly creating a self-signed certificate suffices.
Upon entering the certificate creation page, first select the key length; you can set it to 2048 or 4096. Typically, 2048 is sufficient since 4096 requires a more complex encryption algorithm, which can affect performance, but 4096 is still viable with today's hardware capabilities. Next, choose the validity period; for home use, set it directly to 10 years to reduce certificate management. Then, fill in the Common Name, which is the domain name of the certificate; here, enter the IP directly. If you prefer to use a domain name, note that this involves modifying the hosts file due to the lack of official DNS records. Fill in the other fields as desired, select your country, and then you can directly create the certificate.
After creating the SSL certificate, enable HTTPS and select the newly created certificate in System - Workbench to make it effective. Also, force SSL/TLS if HTTP access should not be allowed. Changes take effect after applying and require HTTPS re-login. Since self-signed certificates are untrusted, browser confirmation or trust addition is necessary.
Next, go to Update Management to update software packages, ensuring system security. Updates begin with a click on the download icon. Some packages might be slow from the mirror repository; speeding up could involve setting a proxy or waiting patiently.
Additionally, consider backing up the system before updates to restore in case of issues.
Network Settings
Modify network settings, typically changing from DHCP-assigned to a static IP for easier management (or binding the address through the router).
Edit the network interface, set IPv4 to static, and fill in the IP address, subnet mask, and gateway. Also, add DNS server addresses in advanced settings, separable by commas or semicolons.
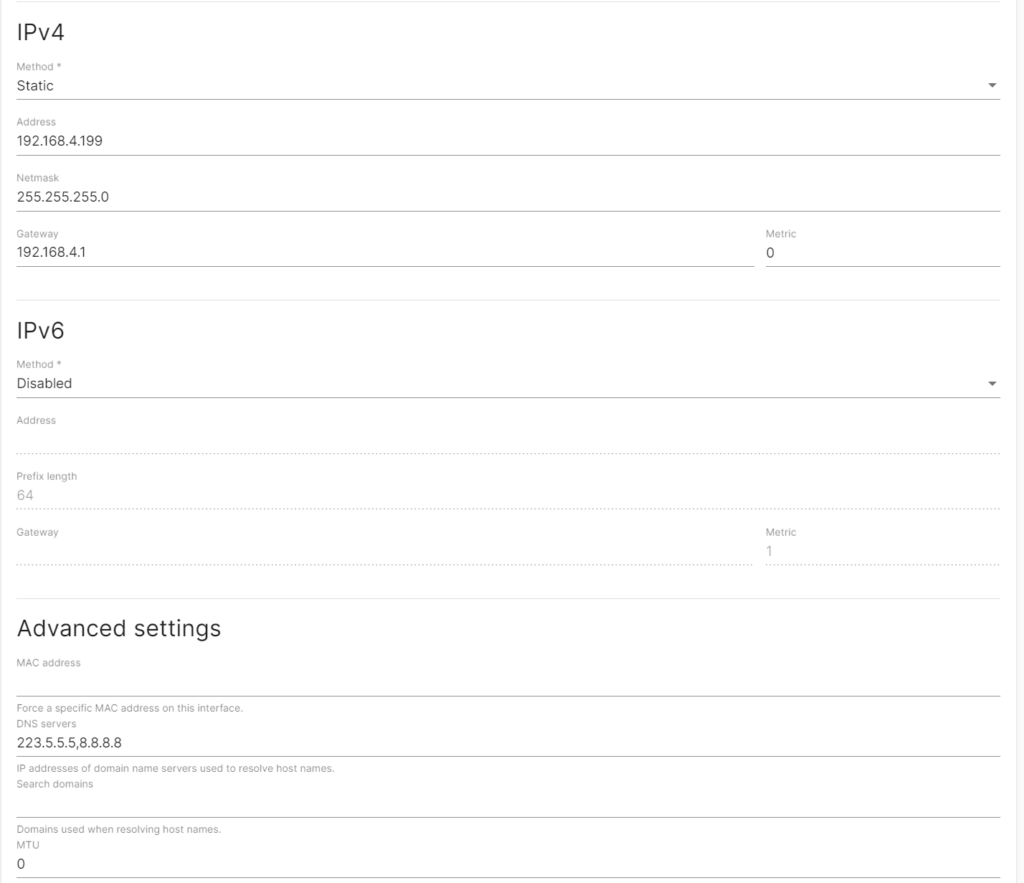
Apply changes for them to take effect, remembering to use the new address for subsequent access.

If a proxy is needed, set it under Network - Proxy. Further security settings, like firewall configurations, can be adjusted under Network - Firewall as required.
Storage Settings
Manage hard drives, monitor, and create software RAIDs here. If available, enable S.M.A.R.T monitoring to preemptively identify hardware failures.
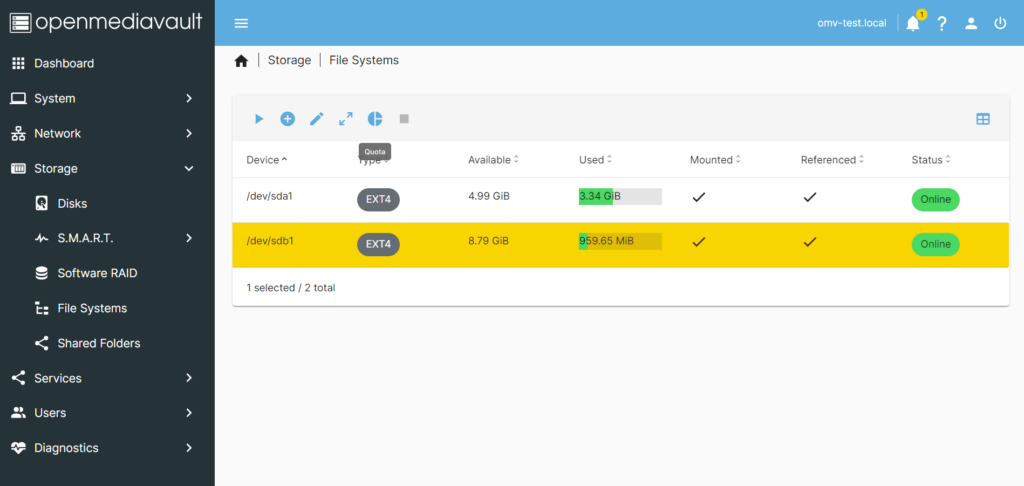
Before using, mount hard drives to the file system. This example creates an EXT4 filesystem. The document briefly mentions other filesystem types like Btrfs, Ext3, Ext4, F2fs, Xfs, and Jfs without going into detail.
- Btrfs (B-Tree Filesystem): Btrfs is a copy-on-write filesystem supporting features like snapshots, transparent compression, subvolumes, online disk repair, and checksums for advanced functionality.
- Ext3 (Third Extended Filesystem): Ext3 is the successor to the Ext2 filesystem, mainly adding journaling to enhance system reliability.
- Ext4 (Fourth Extended Filesystem): Ext4 is an improved version of Ext3, supporting larger filesystems and file sizes, improving performance and space efficiency.
- F2fs (Flash-Friendly File System): F2fs is a filesystem designed for flash storage devices such as SSDs and eMMC, optimizing performance and lifespan.
- Xfs (XFS File System): Xfs is a high-performance filesystem supporting very large filesystems and file sizes, as well as efficient metadata operations.
- Jfs (Journaling File System): Jfs is a journaling filesystem emphasizing data integrity and reliability, supporting online disk repair and recovery.
Web operations are straightforward; after adding a filesystem type and selecting the disk, the system automatically creates it. After creation, mount it for use, remembering to apply configuration changes.

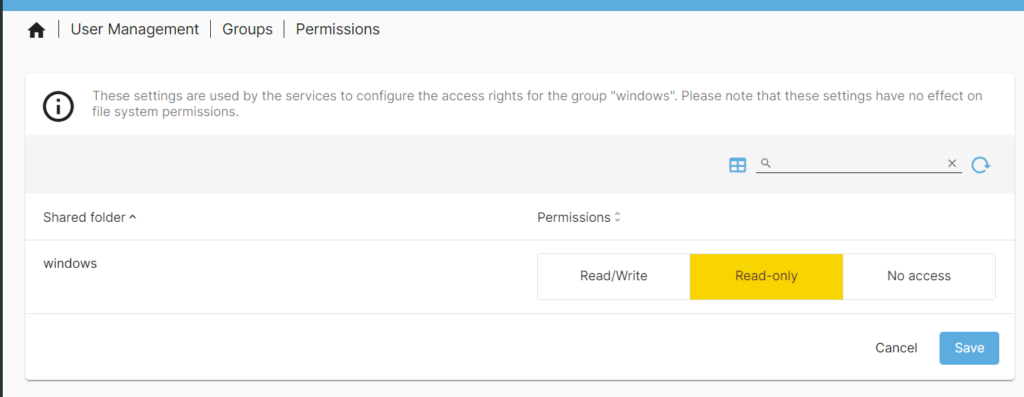
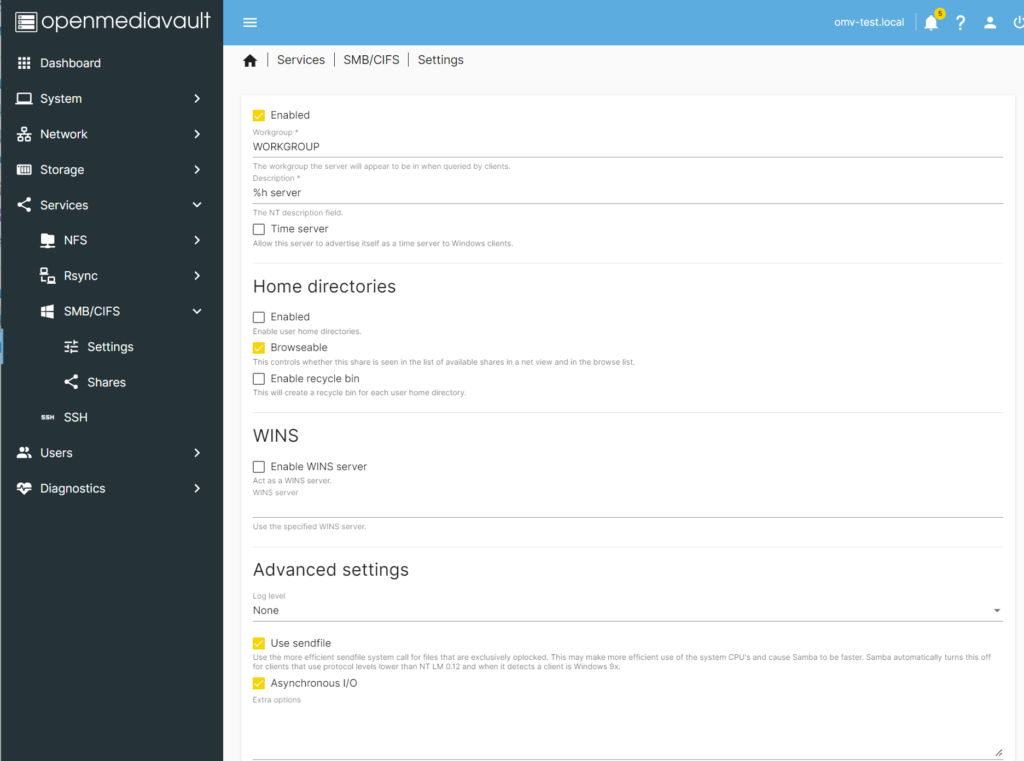
Upon completion, disk information becomes visible, ready for configuration. For instance, for Windows network storage, create a share folder named 'windows', apply changes, then enable it under Services - SMB/CIFS, setting necessary permissions.
Create a user group under Users - Groups for differentiated access, ensuring appropriate permissions are set. Then, create a user under Users - Users, setting a password and adding to the newly created group.
After creating the user, return to Services - SMB/CIFS, enable the service by checking the enabled box, and your setup is now ready for use.
Once everything is set up, you can access the shared folder from a Windows host by navigating to \serverip\windows in the File Explorer or by adding a network location for easier access.
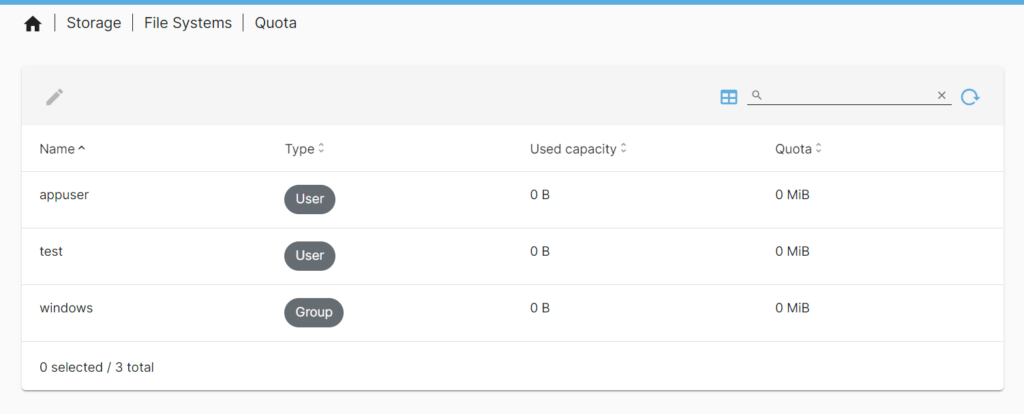
Finally, since such shares will use all available space, you might need to set quotas for different users or shared storage to prevent one user from monopolizing the space. This is done by going back to Storage - File System, selecting your shared disk, and then clicking the Quota icon to manage quotas for this filesystem.
Here, quotas can be divided based on users or user groups, which helps manage space allocation efficiently and prevents service interference due to space squabble between different applications.
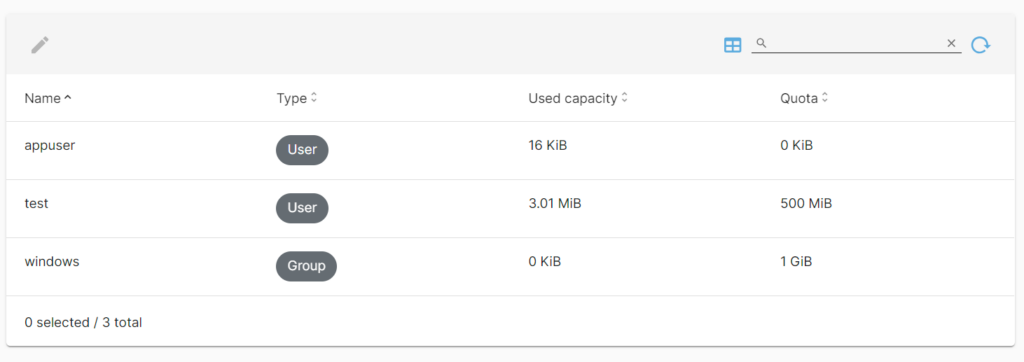
After setting quotas for user groups, you can further refine the quotas for individual users within each group to ensure no single user can consume all allocated space. Remember to apply the settings for them to take effect.
Other settings follow a similar methodology and can be explored further through the official documentation for detailed operations.